
We're back! Bet you thought we'd forgotten about this here blog, right? Well, maybe a little. We've been busy with life, but not busy enough that it's worth blogging about. Just... you know... life. But that's changed with the latest big project - another bathroom remodel! You may recall that we did one around the same time last year. Well, we decided to take what we learned then and apply it to our guest bathroom upstairs. It's a slightly larger bathroom, plus it has a shower, but otherwise it was just a lot of the same work.
We started off with removing pretty much everything - tile, trim, toilet, vanity, cabinet, light fixture, towel bars... the usual suspects. Luckily for us, the floor was already in bad shape even before we bought the house. Whoever installed the tile didn't use nearly the right size trowel, so the tiles came out very easily.


The next step was to patch and prime, which is always fun. The biggest patch job was where the old light fixture had been. Like with the bathroom downstairs, there wasn't a junction box in the wall for the new fixture to mount to. So we had to cut a hole in the wall, install one, and then patch around it. Once all the patching and priming was done it was time to paint of course! We did the closet, ceiling, and walls (because why not?). The new wall color looks great and goes well with the shower curtain and decorations. We also installed the new light fixture once the paint was dry.


After that it was on to the floor. We used the same VCT we did in the bathroom downstairs, partially because we really liked the look and feel of it and partly because we had extra from that project and that saved us some money. This floor was a lot more complicated than the one downstairs with a lot more cut pieces and odd shaped tiles to figure out. We ran into a few problems along the way with this part, but in the end it all worked out.

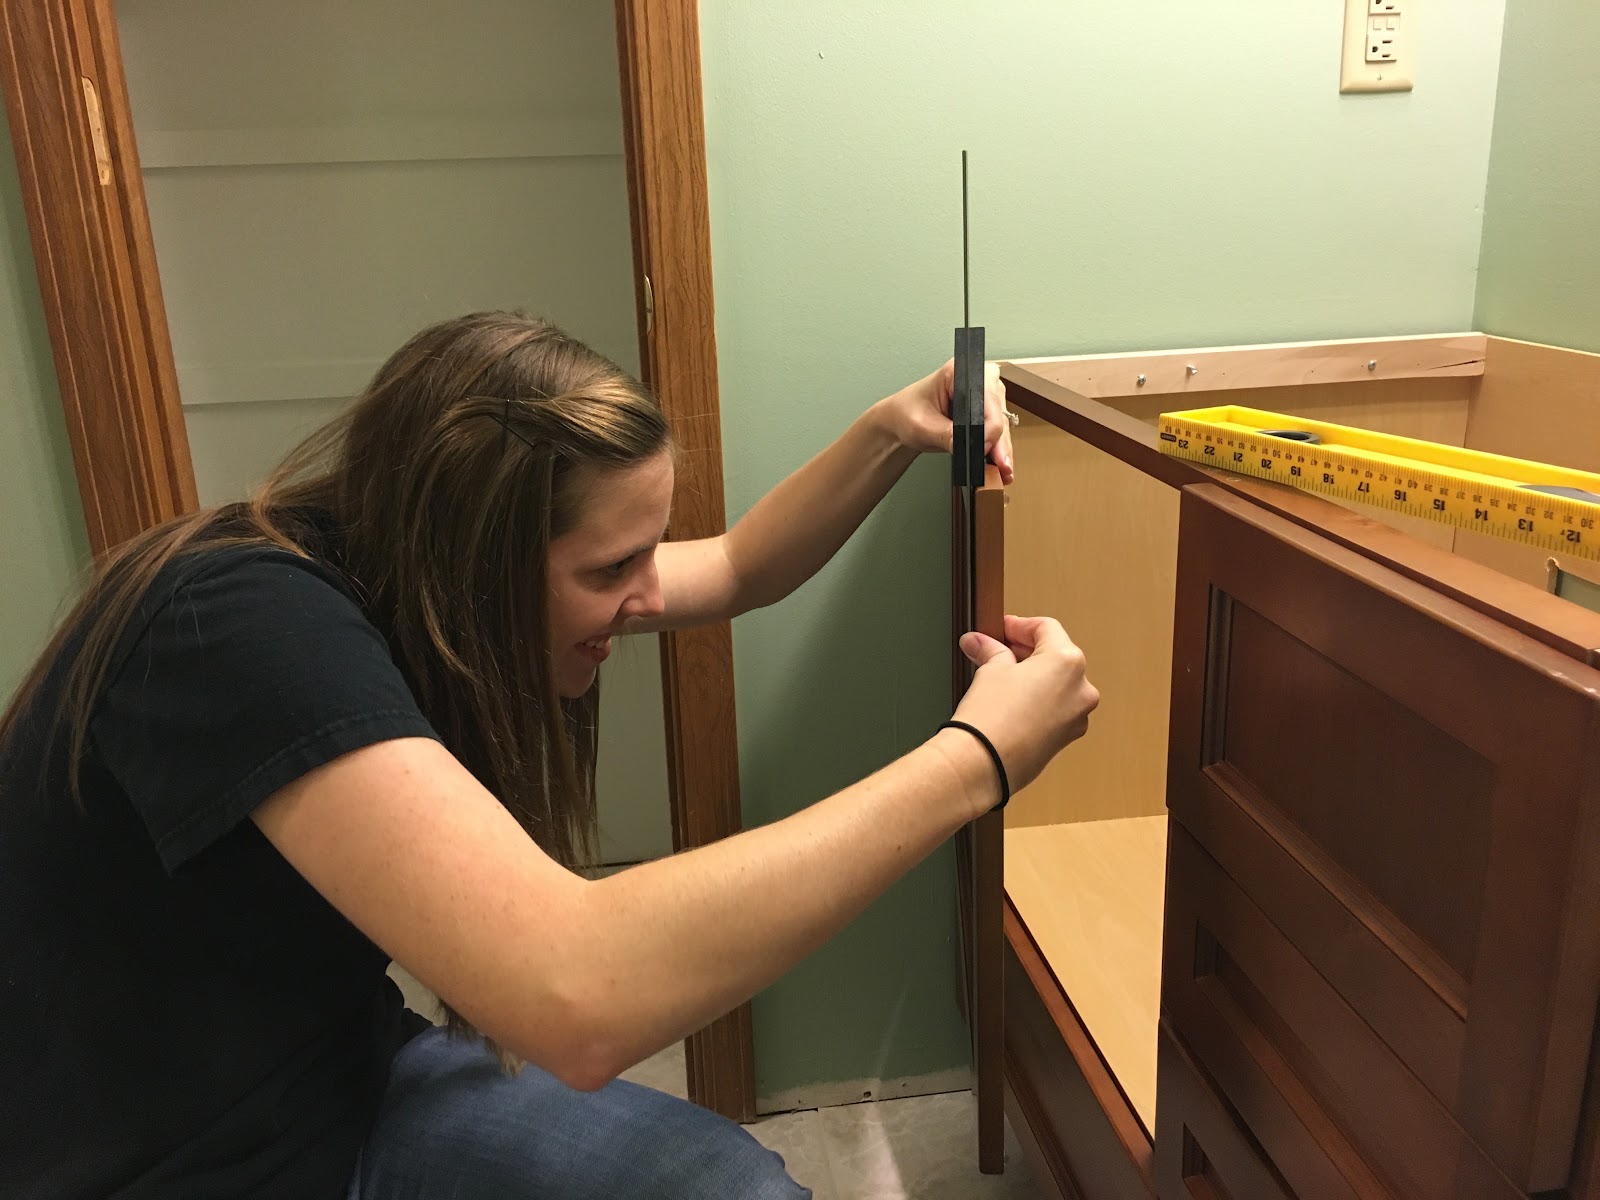
Once the tile was completed it was on to the waterworks. I started off by replacing the old shutoffs and supply hoses with nice new stuff (why not do that while you've got such easy access?). We then installed the vanity we purchased at Menards awhile back. This is an interesting model since it has a cabinet door on one side and then a smaller door with a shelf on the top of the other side. This means there isn't wasted space on the top where the sink goes as with most other vanities. It's not a big deal, but we think it's cool. Leslie also picked out some knobs for the doors/drawers, so we installed those too. We then set the vanity top and connected all the plumbing. And now we've got a cool new vanity! Go us!


From there, the next big step was replacing the bath fan. The old one was incredibly loud and pretty ineffective, so we picked up a shiny new one at Menards and I spent a Saturday in the attic getting it all installed. We got a larger model than the existing, so that meant cutting out a larger hole and, since nothing is ever easy, rerouting a PVC vent line that was in the way. (I was hoping that, since we were doing this project in the late fall / early winter, the attic would be nice and cool. Nope... somehow we've been having the warmest winter ever and it was probably 80 up there. Oh well, it was a nice thought.) It took some time, but we eventually got it mounted and hooked up. We got a fancy one with a light and everything, so now it's quieter, pulls a higher air volume, and lights up the shower even more. Not too bad a trade off for a day of attic work.

Up next was the trim and caulking. This didn't take too long since the bathroom isn't too large. We replaced all the baseboard in the closet and bathroom, replaced the floor transition with a new one, and then caulked around the vanity top and shower. After all that we were ready for the next big thing - the toilet! We got the same model as what we put in downstairs because it has performed really well for us there and I really like the water saving feature. Plus we could flush a bunch of hot dogs down it, which is always a nice option to have.

The last steps were installing the random stuff... mirror, towel bars, toilet paper holder, and decorations. We put in a double towel bar over the toilet and a single on the opposite wall. This should give us plenty of capacity for when we have people stay over. We also installed a towel bar next to the vanity for hand towels. We went with a bar instead of a ring so that, again, there's enough capacity for multiple people to have towels up. The toilet paper had to be mounted to the vanity, since there just isn't any other spot that makes sense (hang it from the shower curtain, maybe?). It's not my favorite position, but it works. We also picked up a few frames at Michael's during one of their sales and Leslie found some fun printable artwork on Etsy to put in them. We hung these across from the toilet so you'd have something nice to look at while taking care of business. Thoughtful of us, huh?


And that about does it for this bathroom remodel. One thing we have left to do is replace the shower/tub hardware. We got a new valve, faucet, shower head, and drain (the old stuff isn't in the best shape) but haven't felt like tackling that yet. Maybe we'll get to that once all the holiday festivities are done. But no rush. We did a pretty good job using what we had and saving money where we could, so our total for everything was less than $1,500. Not too bad, if you ask me. Plus now we have a fancy new bathroom!
But that's all for now. Thanks for reading and happy holidays!